The Good-enough Family Archivist
When you are interested in textiles, people assume you are interested in history and the old way of doing things. And quite often that leads to you becoming the family historian.
So quite possibly, you too have inherited boxes and boxes of family papers and photos, and you would love to get them all processed, but it just seems like such a massive undertaking, you don’t know where to start.
If you are an orderly person, and you want to process them all properly, then let me direct you to Denise Lenerick at her site, The Family Curator. She can walk through everything from how to choose and use a scanner, to how to research genealogy and cite sources.
But if you just want to occasionally dip into one of those dusty boxes, and pull out a piece of history to digitize and share with your relatives (or do that while awaiting a huge chunk of time to process them properly), then I have a few tips for you.

Family history items stuffed in a box randomly.
Here is how I sort, digitize, and store the items.
Supplies Needed
- scanner and printer (my scanner can do slides and negatives as well as regular photos)
- photo editing program (I am very happy with Photoshop Elements)
- word processing program
- binders, at least 2 to start with. I get sturdy ones with 2″ or 3″ rings, from thrift stores
- sheet protectors (these may not be truly archival, but I use them for my sorting and digitizing steps. When I get everything done, I will decide if I need to pursue archival folders.)
- slide pockets (even if you don’t have slides, for tiny photos)
- photo pockets in various sizes (I use baseball card pockets, and photo pockets for 3 x 5s, 4 x 6s, and 5 x 7s).
- pencil
Step One
Set up a blog for your archive.
Why: By uploading all your scanned items to a blog, you can tag each post with location and people mentioned, dates, and so on, and then everything can be found and sorted easily, and shared with those you choose. I think this makes it much easier for family members to find the information they are interested in, instead of them trying to navigate a bunch of folders in OneDrive or Google Docs.
Being familiar with WordPress, I chose to set up our family blog as a private blog there. I chose the Triton Lite theme (the same one I use for this blog) because it shows thumbnails for each post on the home page.
In the Settings/General tab, I set it to private, and then sent invitations to family members so they could see all the content.
Set up some categories such as: letter, photos, travel, work, building info, etc.
Set up a page for “Chronology”.
Step Two
Set up your binders. Put some sheet protectors and a variety of sizes of photo pockets into one binder. Leave the other one empty for now.
Step Three
Scan first, sort later. Start with something easy.
Choose an item from your archive box that has a date on it. I will use this picture from 1946 as my example.
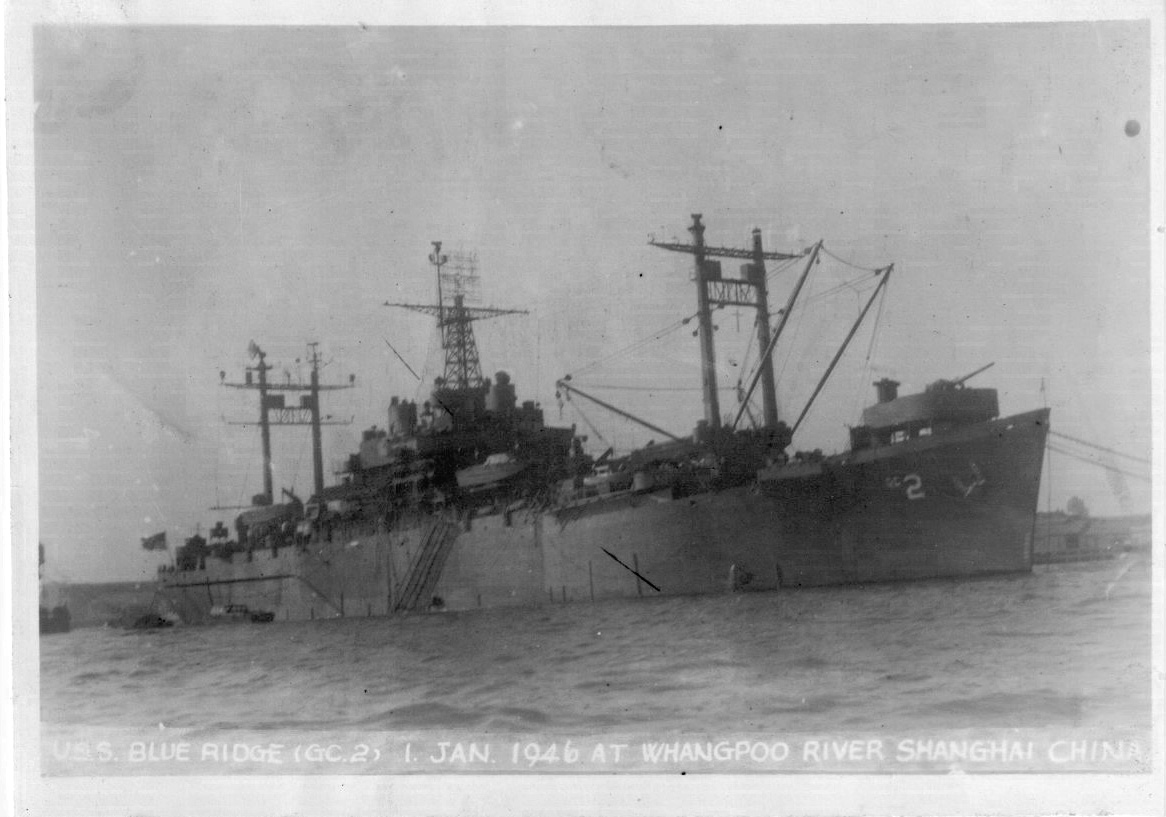
The ship my father-in-law was stationed on post WWII.
Scan the photo. I usually enhance them with the “Auto Contrast” tool, to increase clarity. Save the file by date and subject — for example, I would save this photo as “1946_01_01 Blueridge .”
Record that file name in pencil somewhere on the back of the original. In the future, if you are flipping through your stored originals, you will be able to tell you have already processed this item, and you will be able to find your computer file.
Make it a post on your archive blog – upload it, put it in a post, categorize it, and tag it with everything you can think of — year, decade, location, people involved. For this photo, I would tag the post with “1946, 1940s, China, ship, Blue Ridge, Navy,” and my father-in-law’s name. I would categorize it as “photo” and “travel.”
Publish the post.
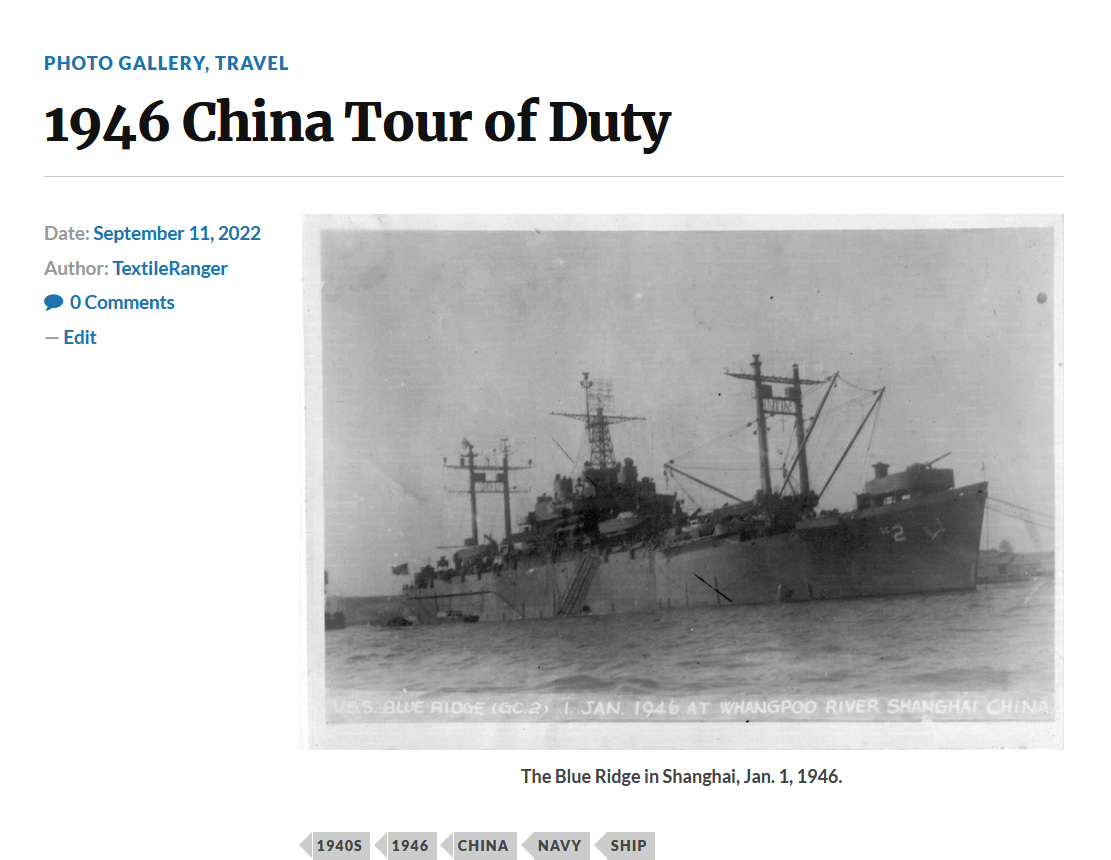
The ship photo now posted to our family blog.
Step Four
Let the power of the internet sort everything for you.
Now is when I go through the extra step, to place things in order.
Family mementos are often stored randomly, meaning that the next item you pull from a box could be from a different decade or even century than the one before. Here is a screenshot of my blog page, showing how my recent posts cover years from 1822 right up to the present.
I could have tried to get all the items in order before processing them, but I cannot imagine how difficult that would be. I prefer to let WordPress do the ordering for me!
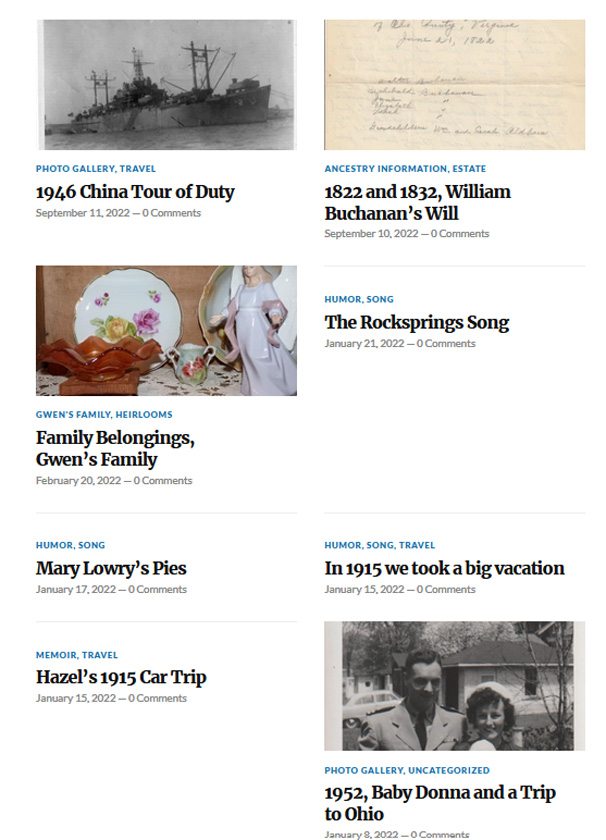
A screen shot of my most recent posts, covering events from 1822 to 2022, in random order.
This is where the “Chronology” page comes in. Once I have completed a post, I make an entry for it on the chronology page — for example, “1946, January, the Blue Ridge in Shanghai,” and then I link to the post. (After working on this for 5 years, I have 336 posts, so my chronology page is very long.)
This way photos and documents can be scanned and uploaded in any order, yet be easy to find later. If I find more photos or documents from this same date or place, I can just add them to the post later.
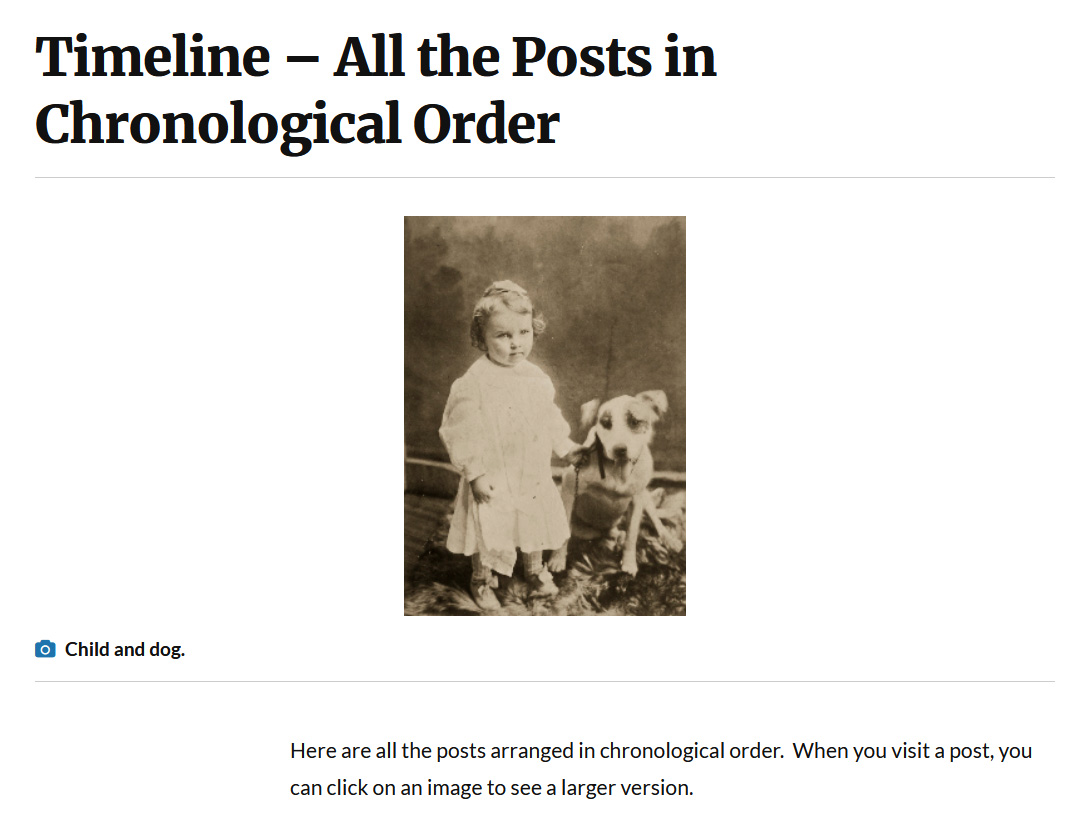
The header of my chronology page, explaining its purpose to readers.
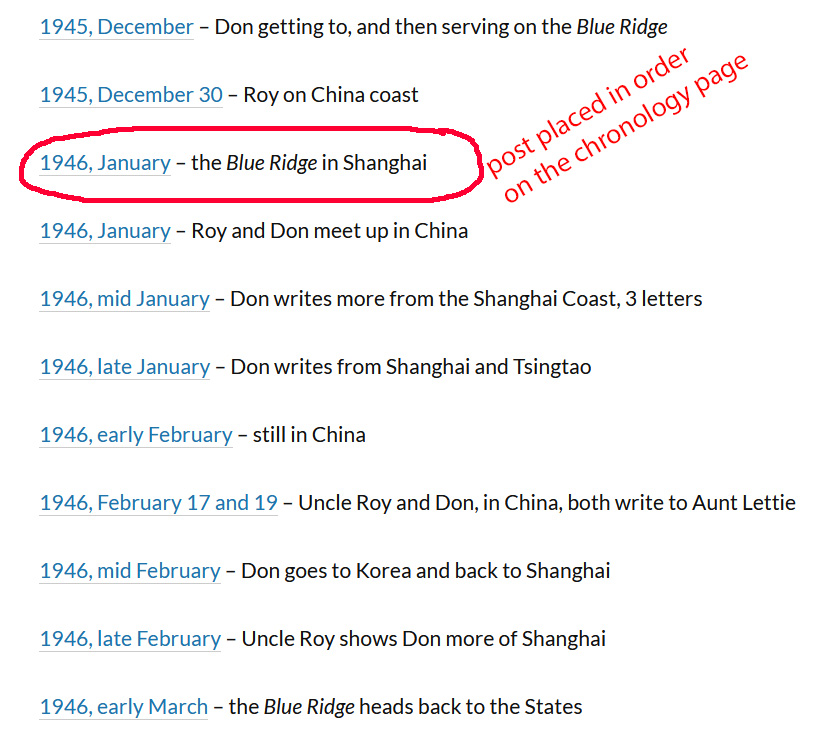
I place a date and description on the chronology page, and link the new post.
Step Five
Almost done! Put the original in a sheet protector and place it in the heretofore empty binder.
Hurray! You have processed one piece of history! You have a file on your computer, a file on your blog, and the original in a binder where you can find it again.
When putting the originals in binders, I arrange them by date if I know it. I usually have all the letters in one binder and the photos in another, but sometimes I can tell what goes together and I can put the photos with the right letter.
Repeat.
There are few things more satisfying than actually getting some old curled-up, faded photo preserved for the future.
Slightly More Difficult — Undated Photos
Most of our photos are undated, but they are in groups by their previous owner. I have a computer folder for each person’s photos, and I assign each photo a three-digit number. Again, I write the number on the back while scanning. I store them in pockets in a binder, not worrying about which ones should go together. I just want to get them digitized, and I will worry about sorting them later.
Written Documents
For handwritten documents, I scan and save the original, and then I transcribe it, and print out the transcription to store with the original document in a binder. I usually post them together on the family blog, but if I just post the scan OR the transcription, I make a note of that.
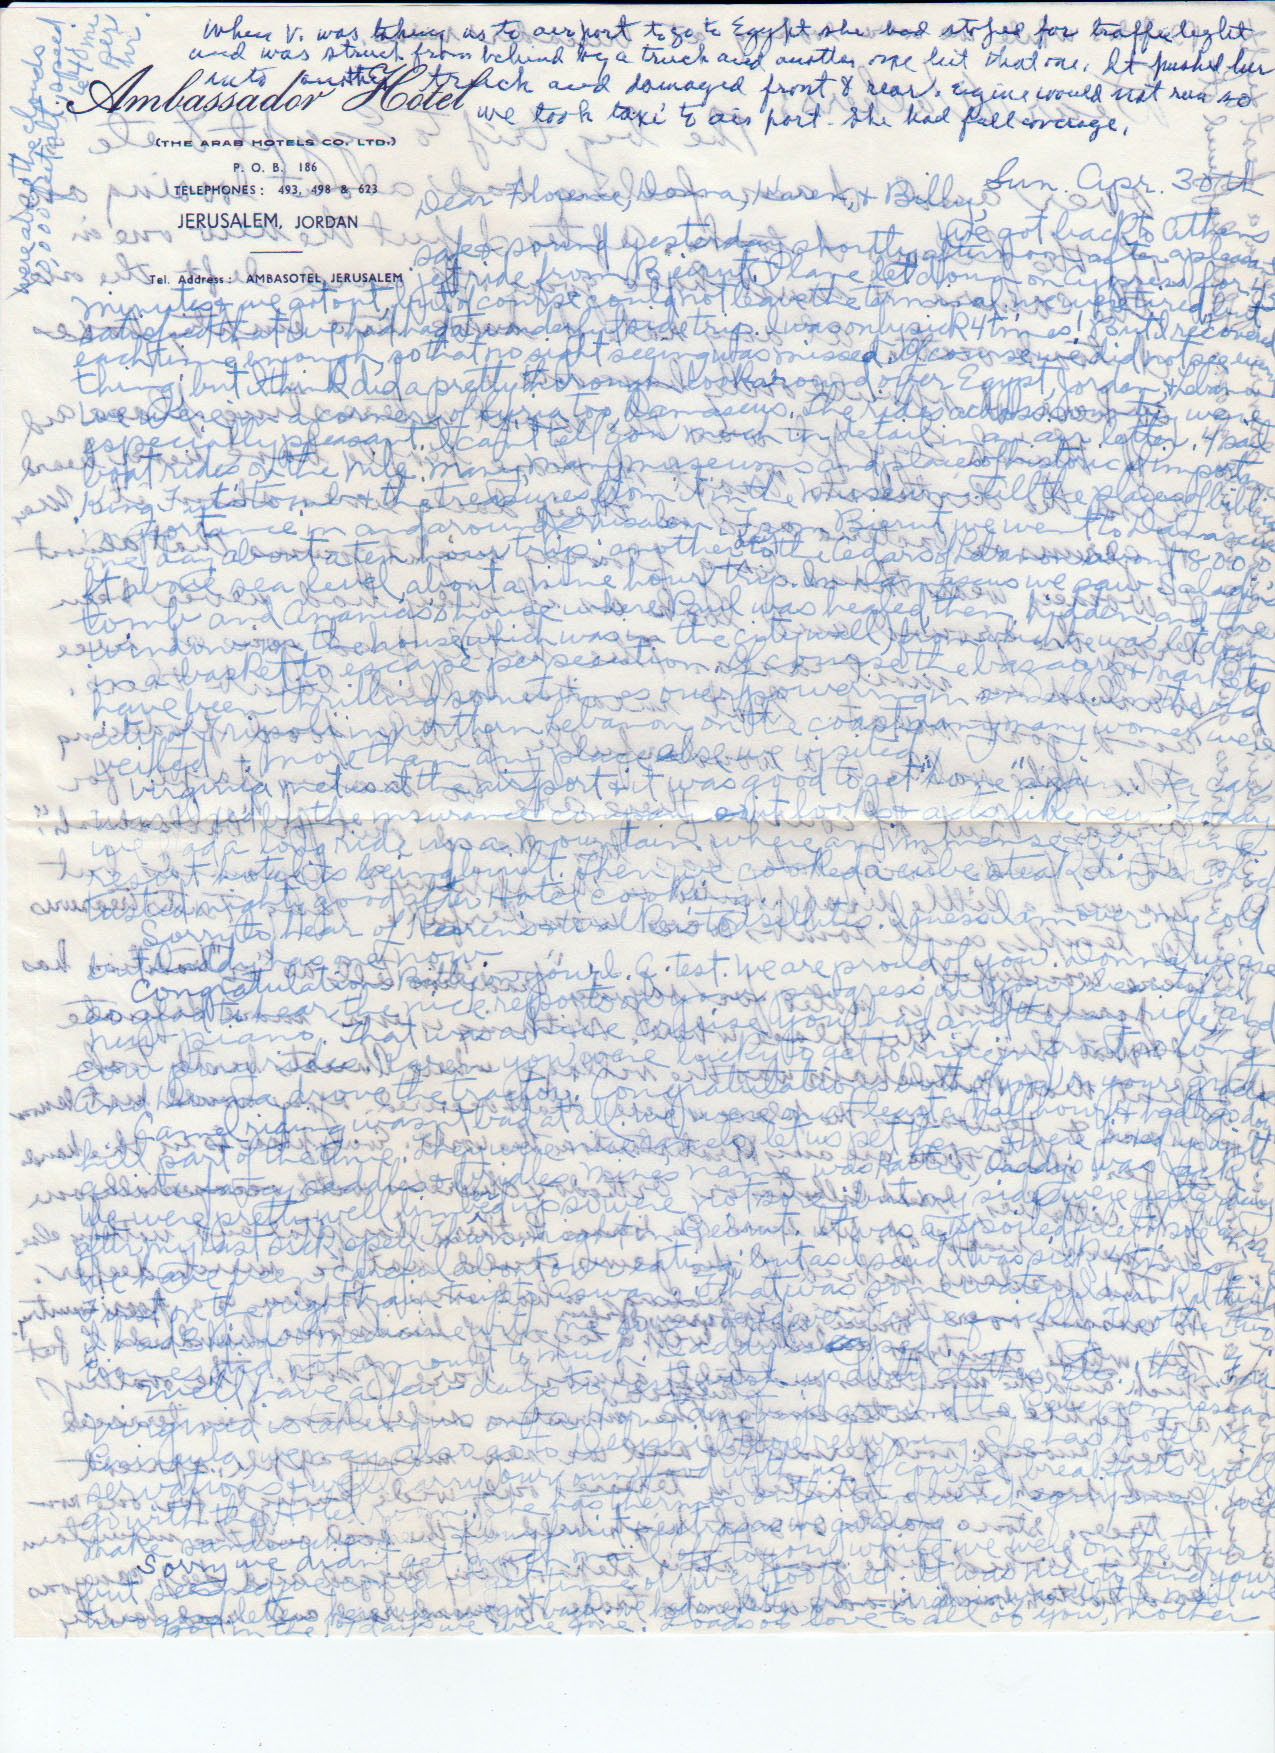
I transcribe letters like this because NO ONE should ever have to try to decipher this handwriting ever again.
Sometimes I just read a little and type, but my eyes start to cross after looking back and forth at original and screen, so I have also tried talk-to-text applications. I have found Dragon Naturally Speaking to be pretty good, especially with place names that I am not even sure how to pronounce! (It does seem to miss prefixes though, and I have often read out phrases like “the officer misrepresented the conditions,” only to check the text and see that Dragon had recorded, “the officer represented the conditions,” which totally changes the meaning of the passage. So double check.)
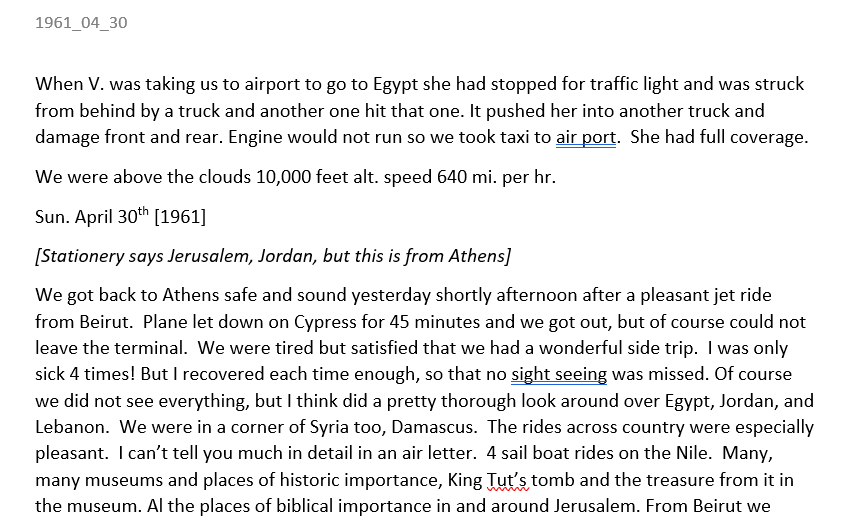
The first part of that letter, transcribed. Future generations will thank me.
Important Tips — record your file name on the transcription and somewhere on the original. I like to put it in the header of the transcription file.
Whenever you leave off from working on the items, make yourself notes as to what you are working on! So many times I think, “Oh, I will come back to this tomorrow,” and then it is months before I get back to it.
Most of the photo holder pages are rated as acid-free and archival quality, but ordinary sheet protectors for documents are not. I am using them anyway, to keep things organized, but at some point I may look into archival folders.
Things to do with your newly digitized files
1) Send a few in an email to your family members, especially the funny ones.
2) Choose some of the best pictures and make them into books for gifts. (I used Snapfish for this last year and it was the best gift I ever gave.)
3) Use them on your main blog. See, for example, a wedding from 1806, a 1916 school annual, and how to deal with clubitis.
4) Use them as inspiration for some textile art.
I hope this has been helpful. As with so many procedures, it is faster to actually do it, than to read about how to do it!
And as always, if you have a great textile or fashion photo that you would like to share here, just let me know and we will post it!


Thank you, thank you for this! I have printed out this post to refer to as I organize the boxes and boxes of photos and documents I have just brought to my house from my parents’ home. My father passed away last November, and after my sister (who was living with him until he died) remarried and moved away in April, I was left with the task of cleaning out the rather large house. I already had boxes full of family memorabilia here, and the task of going through and organizing everything has seemed rather overwhelming. Your system of organizing is wonderful!
Hurray! I am glad it will be of use to you. I wish I could come and help you sort it, Deb! I love to go through all of that stuff and see what turns up.
I found some amazing things and am sure there will be much more to discover.
This is a great tutorial on getting started with family history material. Thanks, for posting this.
Thank you! You are right that it is about getting started — the Ancestry.com and Family Tree Maker sites and guides just keep getting more detailed, and I know they can be overwhelming. I hope this helps a few people. 🙂
I’m completely in awe of your organisation. If I can ever bring myself to delve into those dusty boxes I will use this post as a step by step. Thank you for sharing your process 🙂
Don’t think of “all those dusty boxes,” just think of “just one picture”! 🙂
I will be glad if the post is of help at some point.
This is helpful, thanks! I have all the family photos, now that my parents are both gone. I need to organize them, but I am putting it off – it is an overwhelming task. This will be helpful when I decide to tackle it!
Just tell yourself that no matter how much or how little you accomplish, it is still more than has been done up to this date! 🙂
I am glad you find this helpful!
I wish I had read your post about 35 years ago when I was clearing my father’s house. Oh well, I still have his Sunday school class picture.
Wow, I wish you had too! That was before the internet was everywhere and before blogging, so I would have been the pioneer of a great advance in technology! 🙂
I still have my mom’s Sunday school graduation certificate, and it actually came in handy in establishing her identity after her wallet was stolen. I brought everything I had to the driver’s license bureau, and the worker was not happy because my mom has gone back and forth between her given name and her nickname on official documents. When I pulled out the SS certificate, he got thoroughly sick of me and gave in and let her have a new license!
MY GOD!!! That letter! Thank for this – I’m going to send the link to my sister-in-law who has been trawling through the Gill family stuff .
I know! And the woman was a teacher! I should save it and bring it out whenever I hear someone talking about the lessening of standards within the younger generation. 🙂
I am glad you liked it and I hope it is useful to your sister-in-law.
And shared on Twit. Thanks.
Thank you so much, Dawn!
WOW! You are amazing. Thanks for sharing all the details that go into such a massive undertaking. I’ve always thought that organizing is the key to everything, but with this, there are so many steps. Well done!
Thanks for sharing your engaging post about organizing family photos and letters. In my case, family photos are like treasure and I often kept albums of them safely in one place. Here I am a new blogger!
Thank you so much for commenting! I agree that family photos are a treasure!